Creating New Pages
Choosing Content Type
Sometimes you will be asked to create a new page. Although it might sound intimidating, our component-based Drupal system makes it easy. View step-by-step guides on:
The first thing you need to do is select the content type for your page. You have 3 options, but generally, you'll be choosing either chaptered pages or landing pages.
- Once logged in, click "Content" in the administrative menu at the top of the page.
- Click the “Add Content” button.
- You will see a list of available content types. Select the one that best fits the purpose of your new page:
- Chaptered Page – A page with sidebar navigation for structured, multi-section content, used for information-heavy pages.
- Landing Page – A full-width page often used for department homepages, marketing pages, or sections of your site where you’d like to use images and perhaps complex layouts.
- Basic Page - A text-only page.
Title, URL and Metatags
Once you’ve created your page, you need to fill out some basic page information.
Title (found at the very top of the page)
Enter a clear and concise title for the page.
Set your page’s URL using URL Alias
URL (in the right sidebar)
Under the "URL Path Settings," set a clear URL following the URL structure currently established for your site structure. For example, if creating a new page for the biology department, your URL alias could be “/departments/biology/nameofnewpage”).
- If you are unsure what the structure is, go to a page on the same site and examine the URL alias for that page.
- Academic departments will start with “/departments/” and administrative departments with “/offices/.”
Guide: How to set your URL alias
💡 Note: If the page’s URL alias needs to be changed AFTER the page has been published, please contact us here, and we will make any necessary changes and page redirects.
These are examples of common patterns for departments, offices, and centers:
Department: https://www.sju.edu/departments/biology
Office: https://www.sju.edu/offices/marcomm/web-guide/managing-your-site
Center: https://www.sju.edu/centers/faithjustice
Configure Metadata & SEO Settings
Meta tags are important pieces of SEO. Typically, this section will be pre-filled when editing; however, when creating a new page, you will have to complete this section on your own.
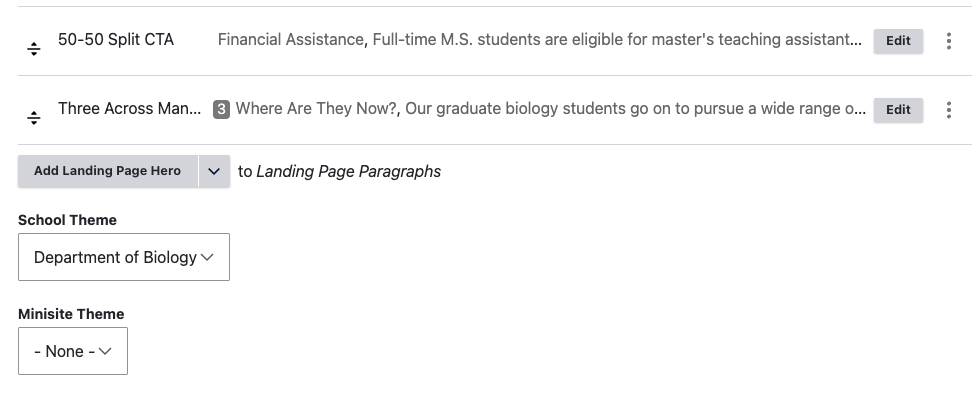
Set School/Minisite Theme
One of the most important steps in creating a new page is ensuring the page has the appropriate minisite or school theme. This must be set since access to the page is tied to your user account, which can only access specific school or minisite themes. If you save a page without selecting the school or minisite theme, even in draft mode, you may become locked out of editing the page.
These selectors can be found near the bottom of the editor:
You can verify which school or minisite theme you should use by going to another page on the site you are editing and reviewing this setting there.
💡 Note: This school or minisite theme setting is what provides your site's custom navigation and footer, including your header.
If you have any questions when you get to this step, you can ask us and we’ll be happy to help.
I Have a Question About My School/Minisite Theme
Click the down arrow on “School Theme” and a menu will appear showing you themes to select from.
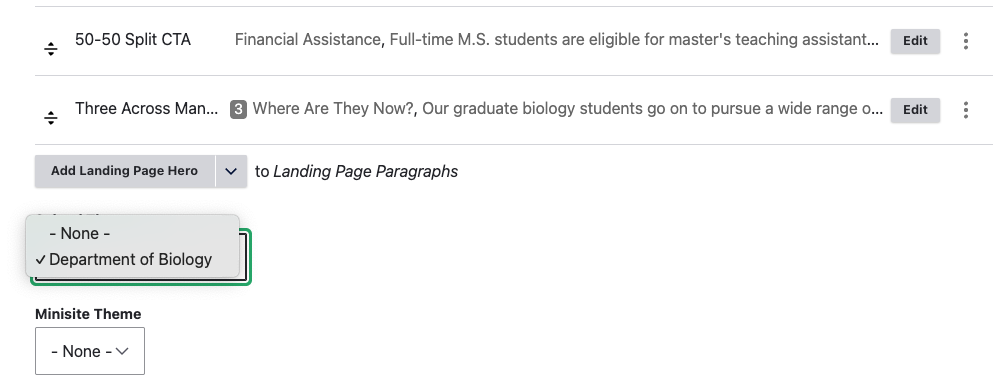
If you do not see your theme in the dropdown for “School Theme,” go to “Minisite Theme,” and it should be there. If you still can’t find it, let us know and we’ll help.
Add Content Using Components
Add Content to a New Landing Page Using Components
For the Hero section:
- Choose a Hero component type (e.g., text + image, full-width banner).
- Add your text and upload an image.
Typically, minisites use the "Minisite Hero" component. However, you are not bound to use it. Multiple hero components are available for your use. We have a full list of them you can review, along with descriptions, explanations of input fields, and image dimension requirements.
See Hero Components
Guide: How to add a hero
For the main content section labeled “Landing Page Paragraphs” click "Add Component" to insert a section:
- Choose the type of component you wish to use
- Fill in the required fields, such as text, images, or links.
- Use the WYSIWYG Editor to format text (headings, bullet points, links).
💡 Tip: If you’re unsure which component to use, refer to the Components Library for examples.
Add Content to a New Chaptered Page Using Components
When beginning a new Chaptered Page, you’ll need to start by adding Chapters.
- Hit the gray “Add Chapter” button to add a chapter.
- Click the gray “Add WYSIWYG” button or select a different component from the dropdown.
Preview Your Page
Before doing anything, double-check that you’ve selected the appropriate school or minisite theme. If you haven’t, you may lose access to the page. So this is very important. Reach out to us if you have questions.
Scroll to the bottom of the page and set "Change to:" to “Draft.” Click “Save.” Review the page and make any necessary edits.
Publishing
If additional people need to review the page, send them the draft link before publishing. Coordinate with any necessary reviewers for final approval and keep the page in draft mode until you receive approval.
Once you’ve received approval, go ahead and publish.
Adding a Page to the Menu
If the new page you’ve added needs to be included in your site's menu, please submit a ticket to the web team.
Cloning Pages
Cloning pages can give you a real jumpstart on creating new pages. Start by finding a page that closely mirrors the type of page you are about to create. For example, one with components similar to the ones you envision for your new page. Go to the top menu, hit "Clone," and then rename your page.
You'll still probably need to re-order, remove, and add components, but this gives you a way of avoiding reinventing the wheel in cases where pages are very similar.
💡 Note: When a page is cloned, it retains all of the meta tag configurations of the original page. This is something you will have to adjust in the meta tag section of the right sidebar prior to publishing. See our chapter on SEO and Meta Tags for reference.
Recommendations For Creating New Pages
- Where possible, clone existing pages and add and delete components from them. This will save you time building the same components from scratch.
- Look at what other academic or administrative departments have done and keep a running list of pages you like. This will save you time when coming up with layout patterns of your own.
- If you have questions about how page XYZ was created and what components it uses, feel free to contact us and we’d be more than happy to help.
< Return to Editing Basic Pages Learn How to Add Meta Tags for SEO >