Editing Chaptered Pages
Page Editor Overview
Guide: How to create a chaptered page from scratch
As we’ve already seen, a Chaptered Page is a page with a left sidebar of clickable buttons that link to the main sections of your page. When editing a Chaptered Page, the outer shell of the editor is the same as what we've already seen. The interface is structured into two main sections:
- Hero Section – This is the top section of the page, which can include a background image, headline, and optional text or buttons. However, by default, Chaptered Pages do not have heroes and they are very rarely used on these pages types.
- Chapters Section – Below the hero, the page is divided into chapter components, each representing a section of content. These chapters are linked in the sidebar navigation, allowing users to jump between sections.
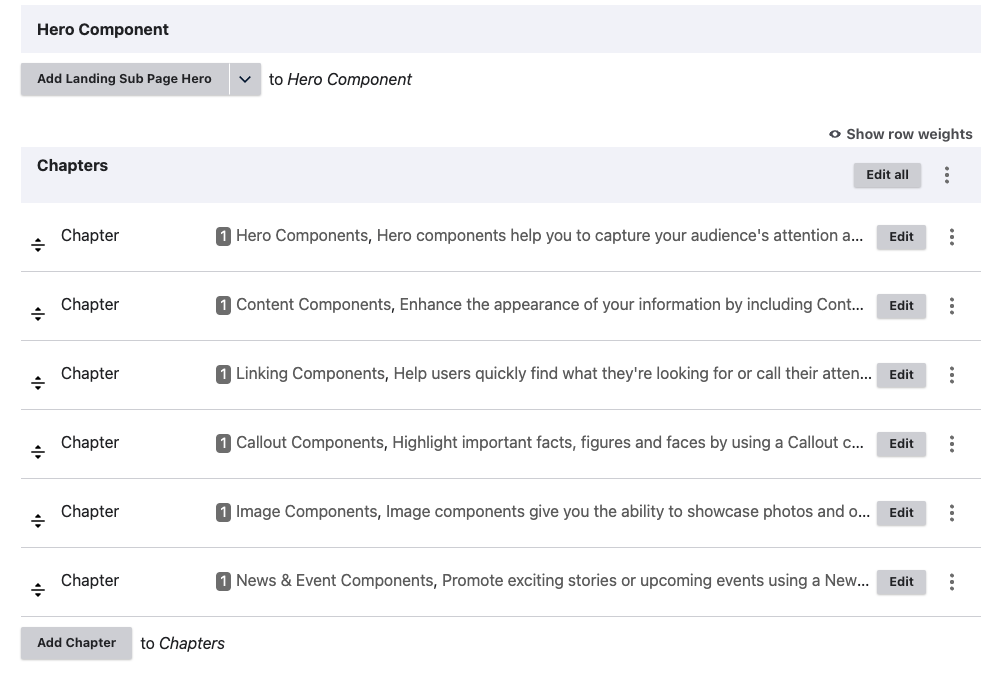
Editing a Chaptered Page
The main editing area contains several "Chapter” components. Each chapter will have a WYSIWYG component nested inside of it.
As you can see above, the main editing area is broken into “Chapter” components. In all likelihood, the chapter will contain a WYSIWYG component nested inside of it.
To edit a component within a chapter:
- Locate the chapter you want to update in the editing interface.
- Click the gray "Edit" button next to the chapter.

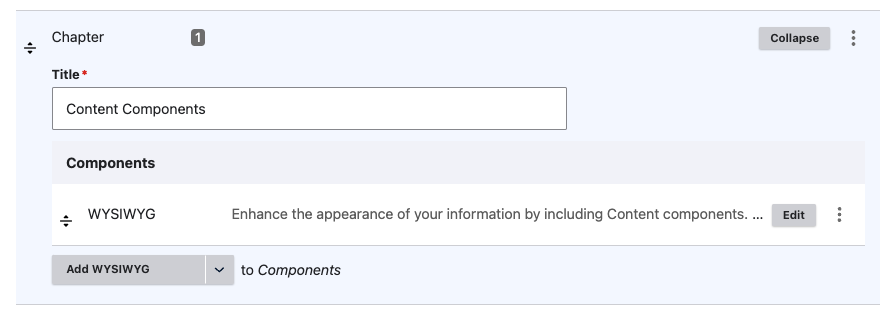
This will open the chapter for editing and display its “Title” and a WYSIWYG content area where you will be making most of your changes.
Understanding the Chapter Title
The “Title” of a chapter serves two purposes:
- It appears in the sidebar navigation menu as a clickable link.
- It functions as the heading for that section of content on the page.
Since Chaptered Pages rely on the sidebar for navigation, clear and concise chapter titles help users quickly find what they need.
Editing using the WYSIWYG component
To edit your content, click the grey edit button to open the WYSIWYG editor. The text you see in the editor is the text that appears below the chapter header in the main body of your web page. Make any adjustments you need, then save a draft to check them.
Finding the URL of the anchor link
Chapters rely on "anchor links" to scroll down to the appropriate section when a sidebar button is clicked. To get the URL of the anchor link:
- Place your mouse over the chapter button in the sidebar.
- Right click.
- Select "Copy Link Address"
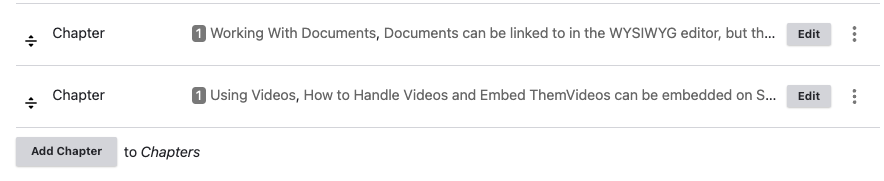
Adding & Reordering Chapters
Sometimes you’ll add a new Chapter to help expand or better organize content. When working with Chaptered Pages. As we’ve already seen, Chapters help structure the page by providing sidebar navigation links that allow users to jump directly to specific sections.
Steps to Add a New Chapter
- Scroll to the bottom of the existing chapter list in the editing interface.
- Click the “Add Chapter” button.
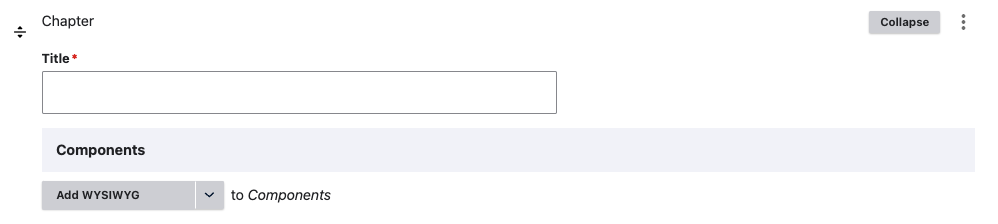
- A new chapter editing area will appear with several fields.
This will bring up the following:
Guide: How to add a new Chapter
Duplicating a Chapter
You also have the option of duplicating an existing chapter and then editing it. It might save you a step.
Guide: How to duplicate a chapter
Configuring the Chapter - WYSIWYG
- Title Field:
- Enter the title of the chapter in this field.
- This title serves two purposes:
- It appears as a navigation link in the sidebar.
- It automatically becomes the section heading on the page.
- Adding Content to the Chapter:
- Click the gray "Add WYSIWYG" button to insert a WYSIWYG component.
- Use this component to add and format text.
Once you've added content, review how it looks using the preview function before publishing.
Re-Ordering Chapters
Chapters, as well as components on landing pages, can be reordered very easily. Simply hover over the up and down arrows separated by a bar in the far left of your chapter row (see below) and drag and drop to where you want the chapter or component to go.
Guide: How to reorder chapters
Removing Chapters
If you wish to remove a chapter, click the three vertical dots on the far right of your chapter row and select "Remove." Once it's gone from the page, it's problematic it get it back without losing any other changes you've made.
Guide: How to remove a chapter
Adding Components Within Chapters
The WYSIWYG component is not the only component available in a chapter. If you hover over the “Add WYSIWYG” button and click the down arrow, you’ll see all the components available to be added to chaptered pages
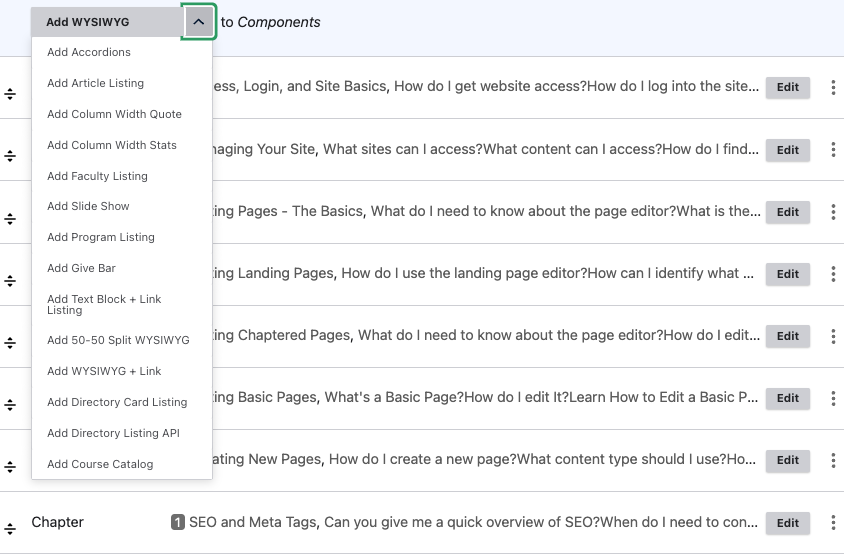
Some of the components include accordions, full-width CTAs, and linking elements.
Guide: How to add and configure an accordion
Guide: How to add a link list within an accordion
To see what these components look like, a description of the input fields, and information on the size of any images needed, please refer to the Components Library. If you are having trouble configuring a component, please send us a ticket.
< Return to Editing Landing Pages Learn How to Edit Basic Pages >